YOURStore - Responsive Shopify Theme User Guide
Read shopify manual before you start
- Manual
- Installing a new theme
- General settings
- Create a page
- Navigation
- Products
- Collections
- Blog
- Customizing your theme
- Customizing checkout page
- Translating your theme into another language
Online Editor
Please use Online Editor for the help in customization. ONLINE EDITOR
You can use NON-LATIN characters
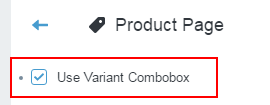
Attention: NON-LATIN CHARACTERS in PRODUCT PAGE work only in COMBOBOX
Attention: one language = one store. Shopify does not support multilangular online!!!
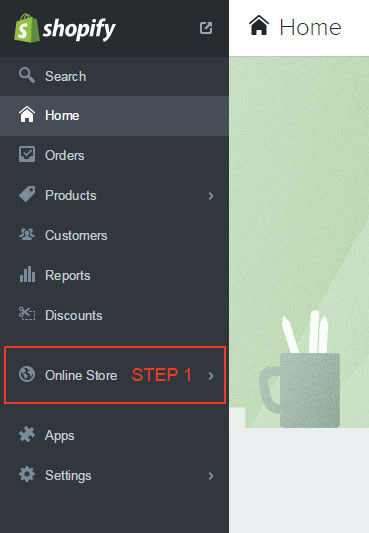
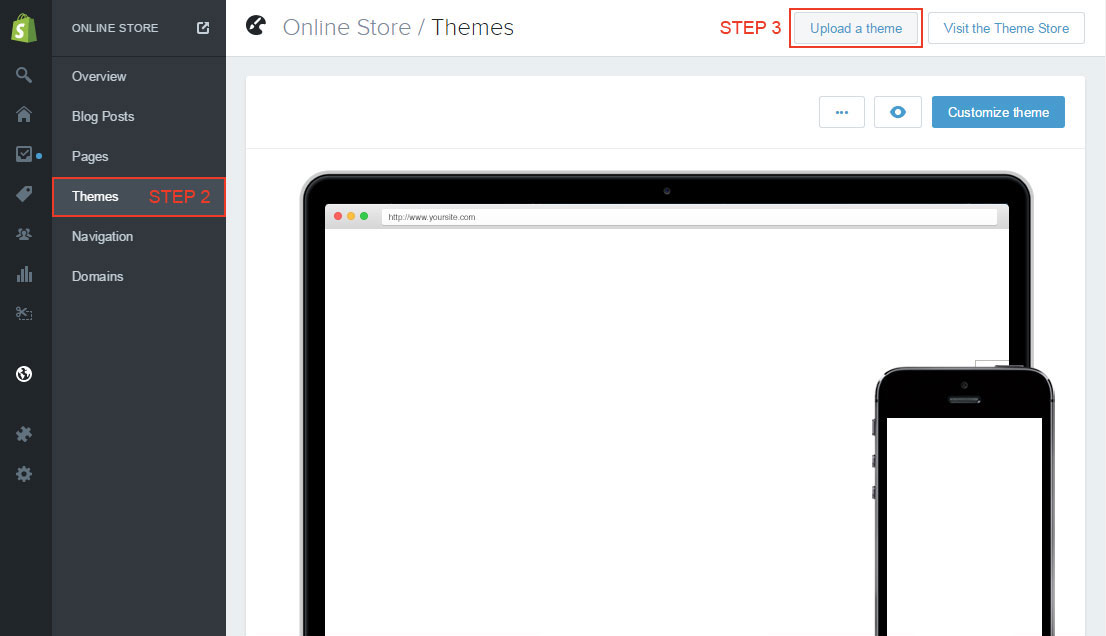
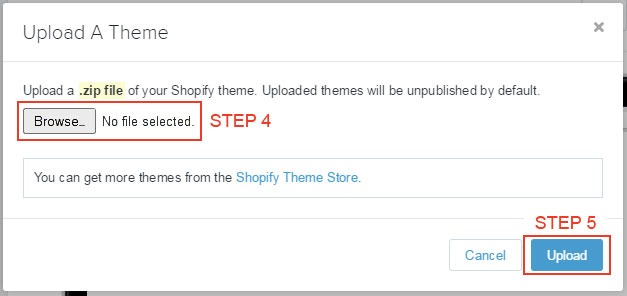
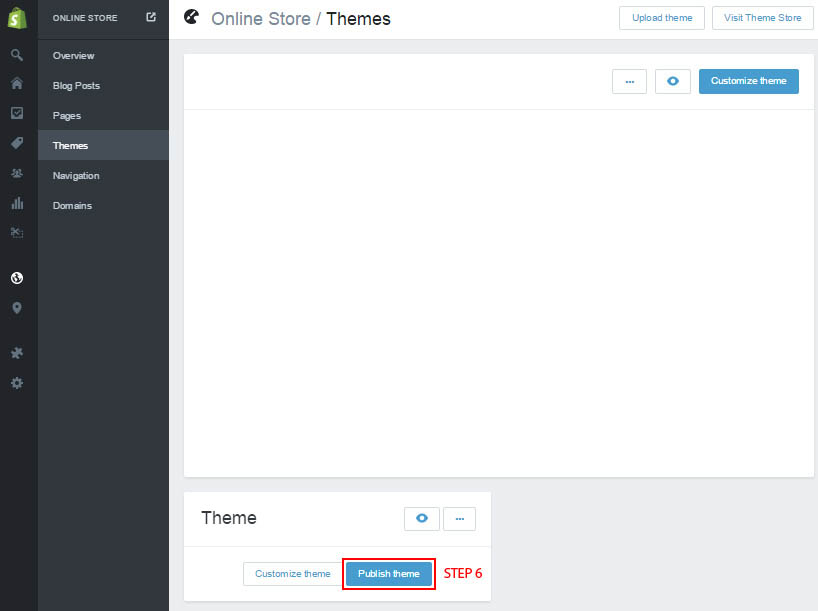
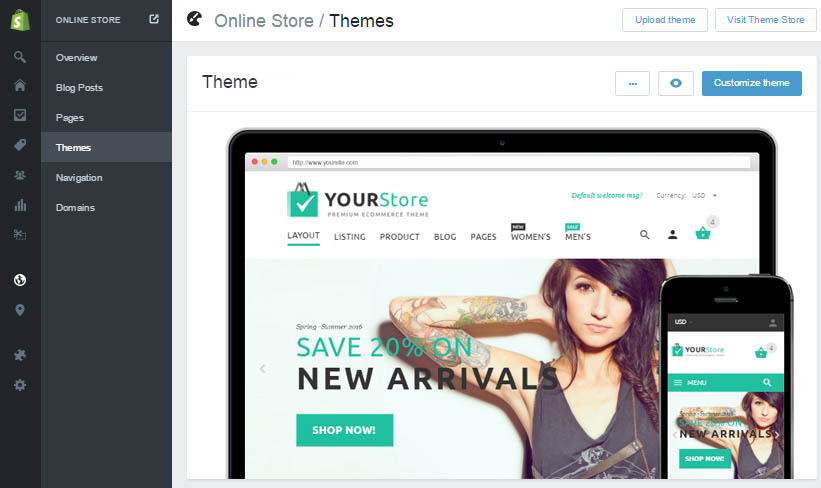
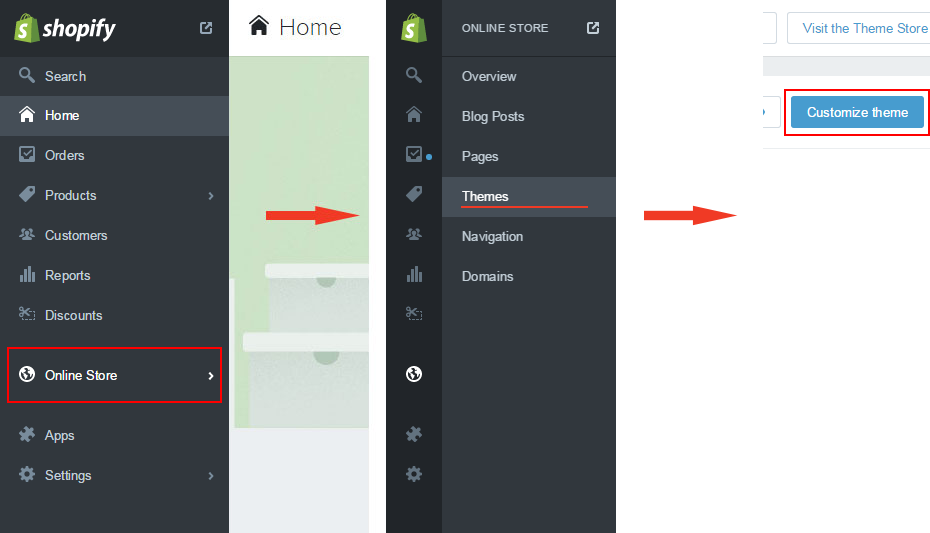
Install Theme
To install the theme, please log in to your Shopify store and go to the Themes. From there, click on Upload a Theme and upload the .zip file from the 'upload' folder included with this package
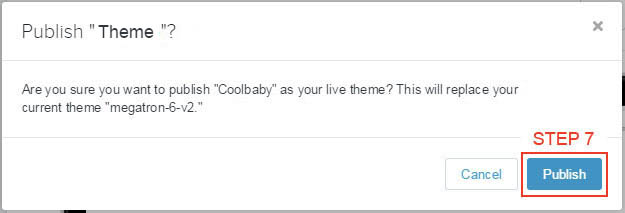
If your store is currently active and is using a different theme, you select button Publish theme what you have just upload
Install Apps
Set Product Review APP
To enable product review, please install below app:
Set Product Sharing APP

To enable product sharing, please install below app:
Get App - AddThis Sharing Tool
Configure AddThis:
Theme -> Edit HTML -> Folder Assets -> css-liquid.css.liquid
in top add:
Folder Snippets -> OPEN product-page-description.liquid
Add at the end of the program:
Folder Snippets -> OPEN product-page-description2.liquid
Add at the end of the program:
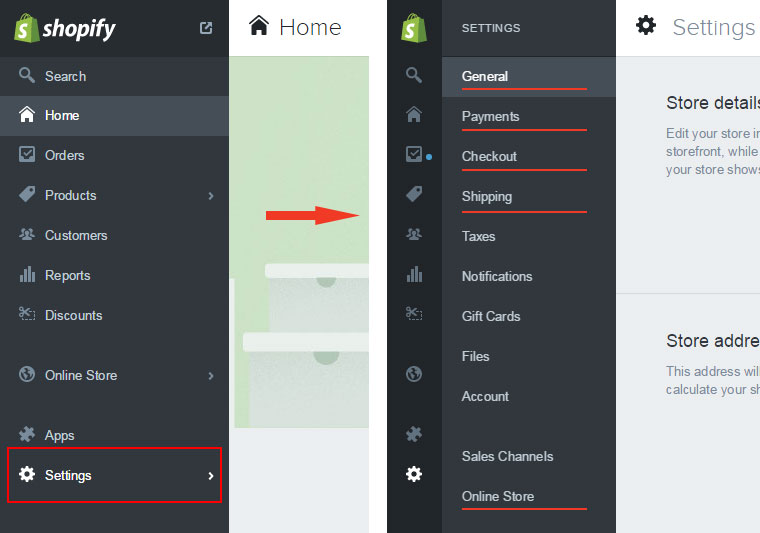
Shop Settings
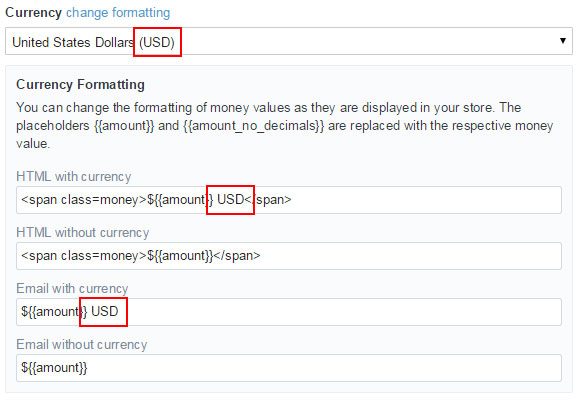
Currency (General)
Editing the HTML for currency formatting:
1. From your shop admin, go to the Settings / General
2. Scroll down and then you will see a "Standards & formats" block. Find the "Currency" there
3. Select your currency
4. Click "change formatting"

5. Replace selected text and click Save
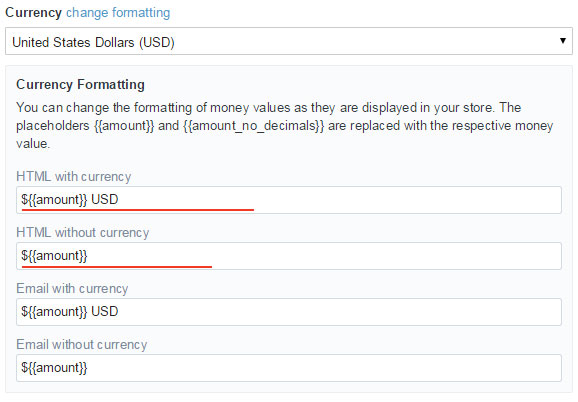
6. Currency must be the same
Payments
1. From your shop admin, go to the Settings / Payments
2. Choose a payment gateway to accept payments for orders. Than checkout page is work
Checkout
1. From your shop admin, go to the Settings / Checkout
2. Select Accounts are optional

3. Click save
Shipping
1. From your shop admin, go to the Settings / Shipping
2. To enable shipping calculator, please configure your shipping rates by following below guide:
3. Instruction:
When shipping has one way: Standart work;
When shipping has two way. SHIPPING & HANDLING has message.
Message you can edit here: Online Store / Themes / Edit language -> general -> Shipping variants
If "Shipping variants" field is empty: SHIPPING & HANDLING field is hide
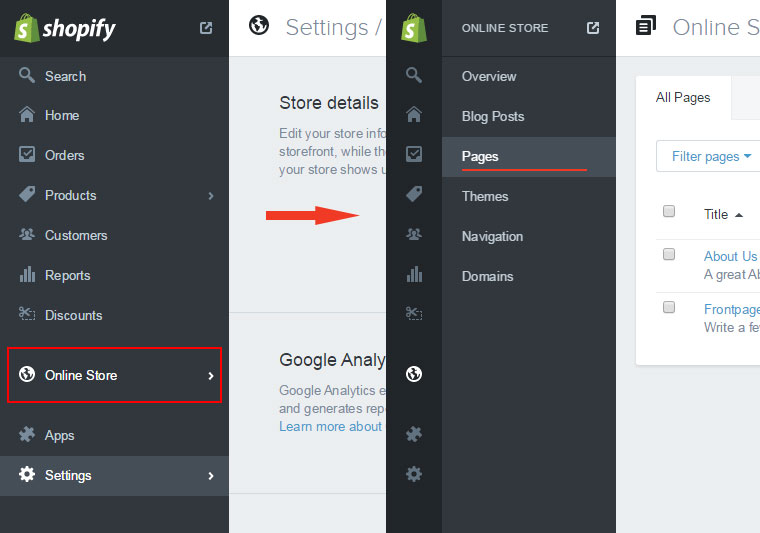
Add Page Wishlist
1. In a Online Store / Pages, find and click button "Add a page"
2. Write in Title field:
3. Select Visibility: Visible
4. Select Template: page.wishlist

5. Click save
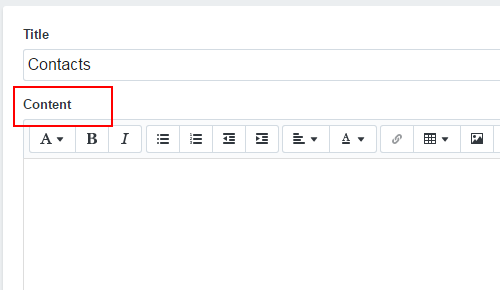
Add Page Contacts
1. In a Online Store / Pages, find and click button "Add a page"
2. Write in Title field:
3. Select Visibility: Visible
4. Select Template: page.contact
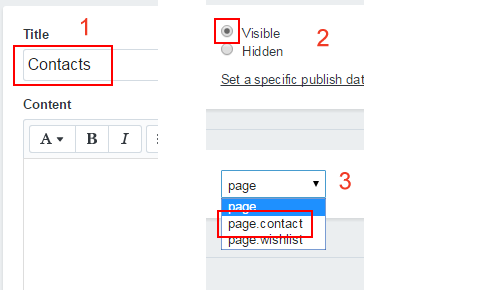
5. Click save
6. To create text content, you need past HTML code in Content field
7. Select HTML write mode content
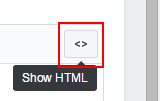
8. Copy HTML from Examples / Contacts Page code and past it in the content field. And than click save
9. Your default email is account email
10. If you want to change page title or messages you go there Online Store / Themes. Than you select "Edit language"

11. There select tab "Contact" and you will can edit texts
Add Page Lookbook
1. In a Online Store / Pages, find and click button "Add a page"
2. Write in Title field:
3. Select Visibility: Visible
4. Select Template: page.lookbook
5. Click save
6. Edit content in Customize Theme -> Lookbook. Lookbook Options.
Add Custom Page
Video. Create page by documentation
1. In a Online Store / Pages, find and click button "Add a page"
2. Write in Title field page name
3. Select Visibility: Visible
4. Select Template: page
5. Click save
6. Select HTML write mode content
7. Select your code page in Examples / Html Pages copy and paste code in page editor
8. If page contains images, see tab Edit Images Links
Add More Home Pages
1. In a Online Store / Pages, find and click button "Add a page"
2. Write in Title field page name
3. Select Visibility: Visible
4. Select Template: page.home-page_layout-N
5. Click save
6. Edit selected Layout in Customize Theme -> Home Page Layout N
Add Page Gallery
Instruction you can find in editor
1. In a Online Store / Pages, find and click button "Add a page"
2. Write in Title field page name
3. Select Visibility: Visible
4. Select Template: page.gallery
5. Paste content from folder Examples / Gallery / example.html
Or create your gallery use online or local editor:
Local editor: folder Examples / Gallery / Editor / index.html run in browser
Online Editor
6. Save.
Edit Images Links
1.1. After set the HTML code you need change links of images. See image instruction:
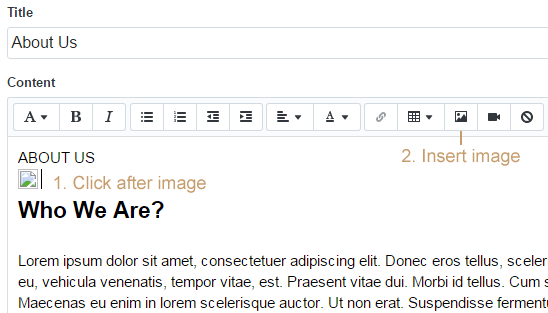
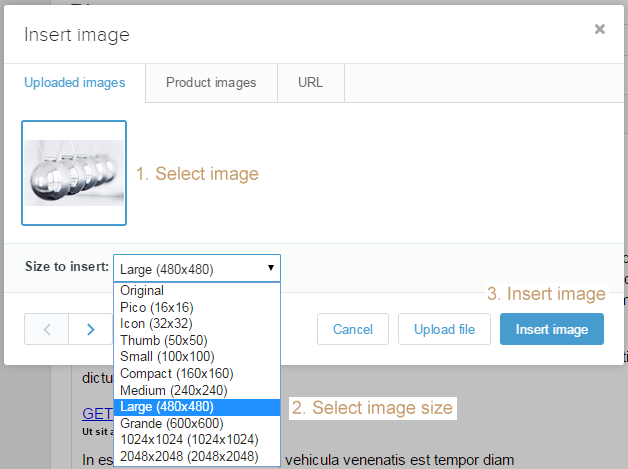
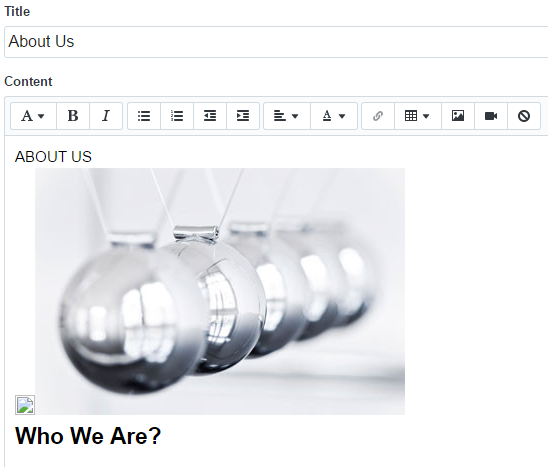
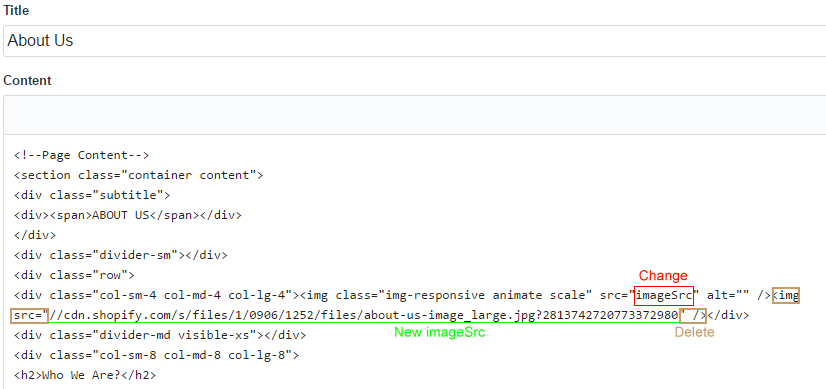
1.2. Perform a loop for all images.
2. Click save
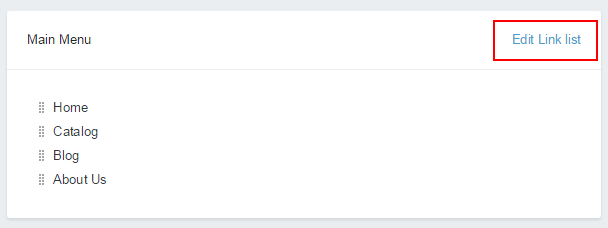
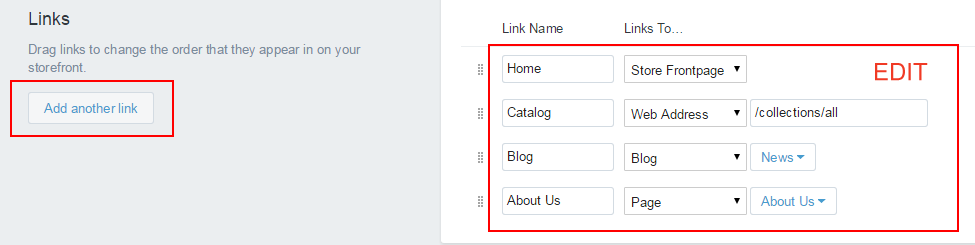
Create a Link List In Menu
Main Menu
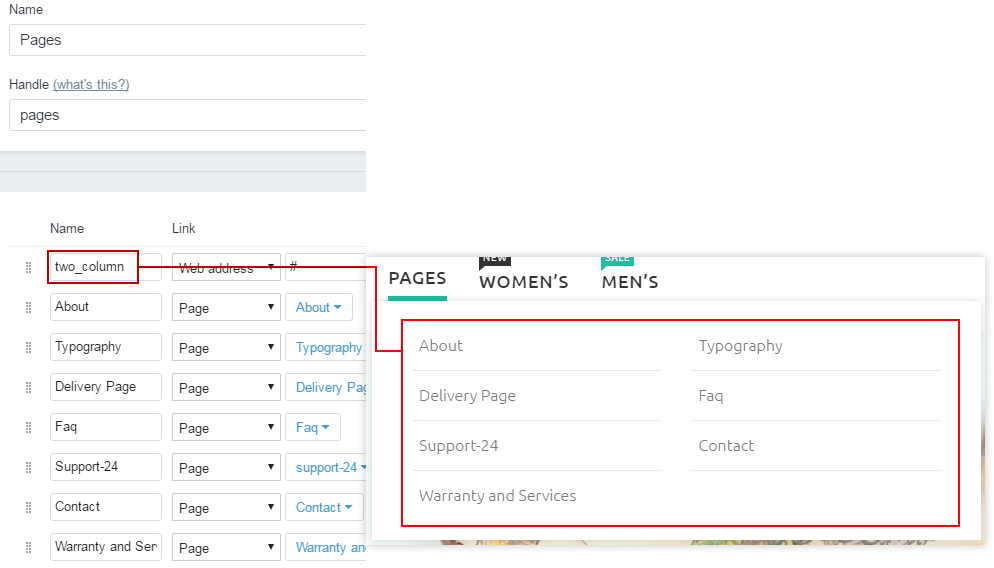
Create MegaMenu Type 1
Code examples you can find in folder Examples/Menus
Grid for design with image and button (layout):
- col-one-third
- col-one-fourth
Grid for design with image only (blogs):
- col-one-third
- col-one-fourth
- col-one-fifth
Example. Change this code here:
Separate menu group by ;
Example: menu item, page handle; menu item 2, page handle
If you has NON-LATIN characters, you must write Item Number in menu line
Example: item2, page handle; item3, page handle
Create MegaMenu Type 2
Examples code for the footer submenu you can find in folder Examples/Menus/Type 2
Menu Icons
Separate icon with menu item name
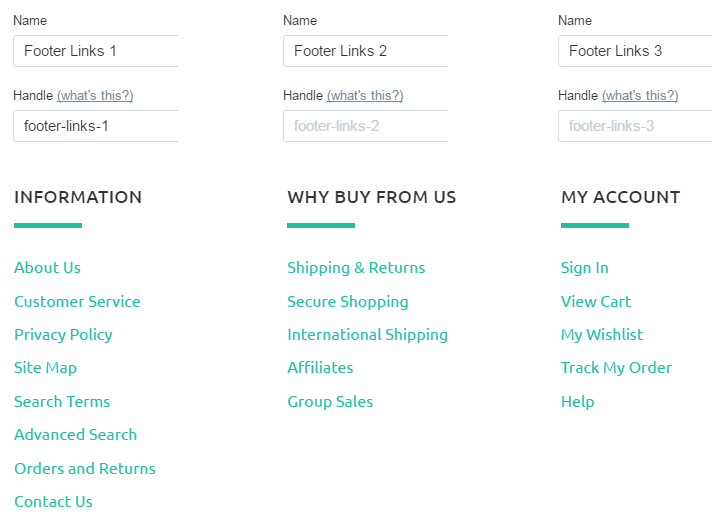
Footer Column Link List In Navigation
For footer linklists names must be:
Create Product
Before you start you must read shopify manual:
1. Products
2. Add a Product to your Store
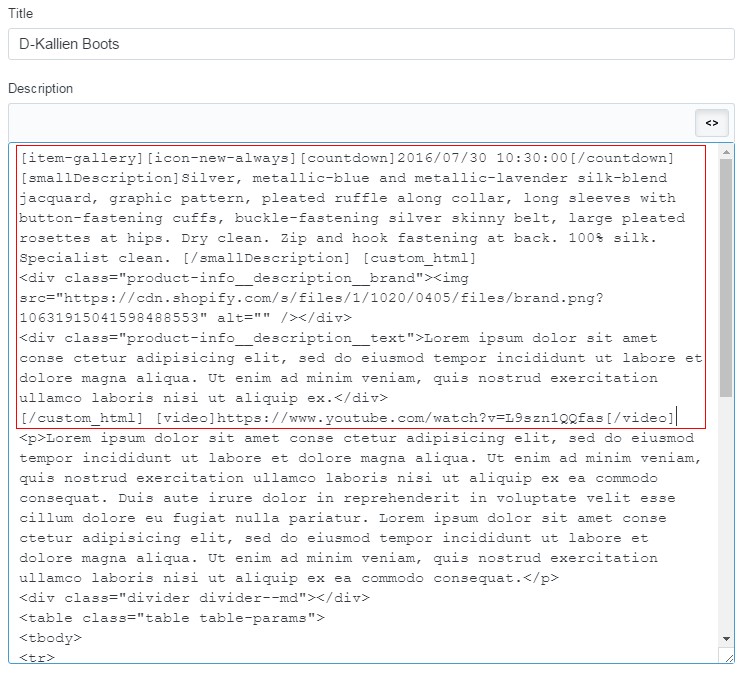
Product Short Codes
You have 8 short codes.
In description field select "SHOW HTML". Insert codes in header.
You can write all short codes in a row.
1. [icon-new-always] - Icon "NEW" always visible
2. [disable-icon-new] - Icon "NEW" never not visible
3. [disable-icon-sale] - Icon "SALE" never not visible
4. [item-gallery] - Turn On gallery in item. Images = product images
5. [countdown] - This is countdown, in the tags your date with the specified format
6. [video] - This is Video, you insert auto play video url
7. [custom_html] - work on product page, product DESCRIPTION after PRICE
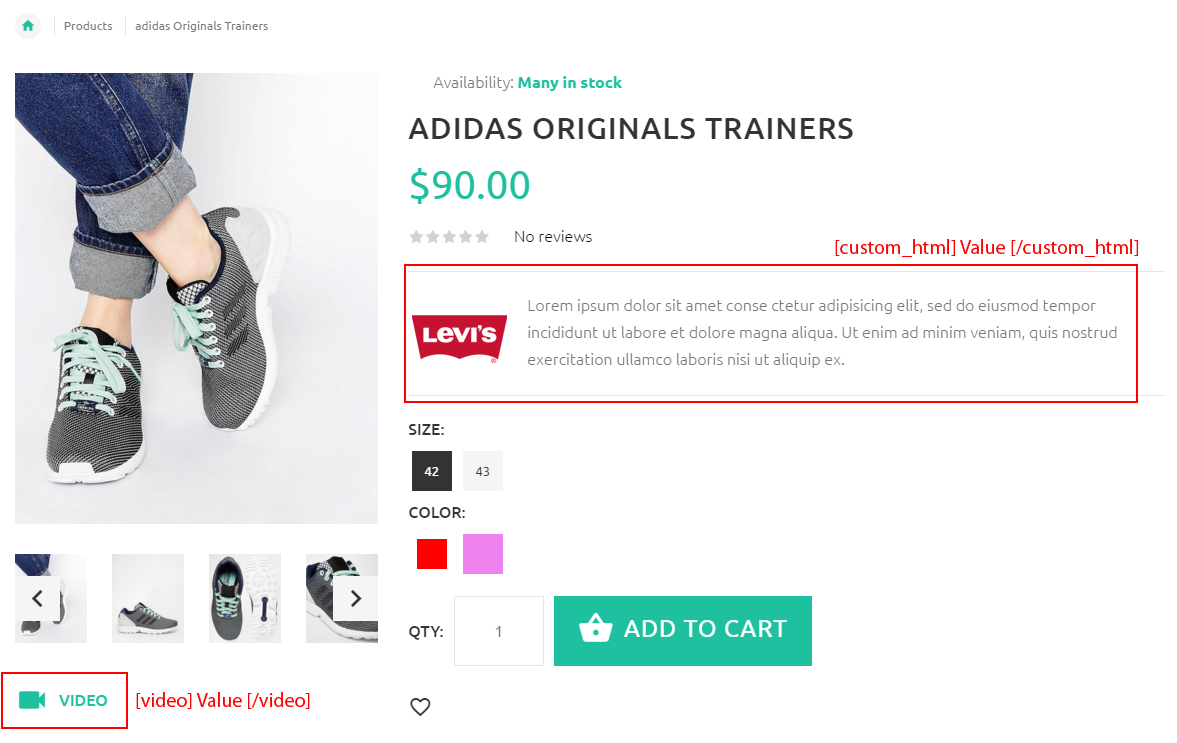
8. [smallDescription] - work on listing page in mode view list, and quick view
Example shortcodes in product description:
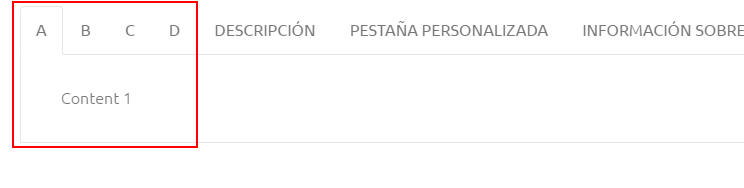
Product Unique Tabs
You can create unique tabs for the product. Count of tabs > 10
Tabs created in this structure:
Paste code in the product description in header
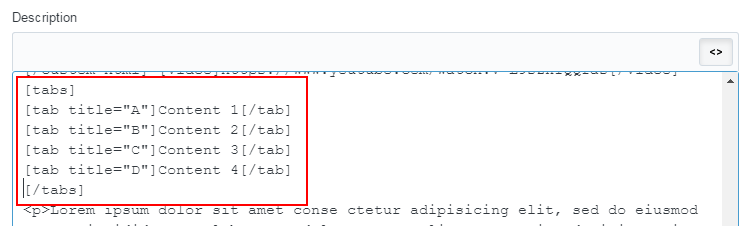
Example:
Add Variants Product
Filtres Overview
Filters work with tags. You need write category, size, color, vendor, price, tags in product tags field.
After that you must write all unique tags in customize theme
You can translate tag in NON-LATIN characters. Example: englishTag__Russian(Arabic, China, or else). Separate item from translate with two underline symbols
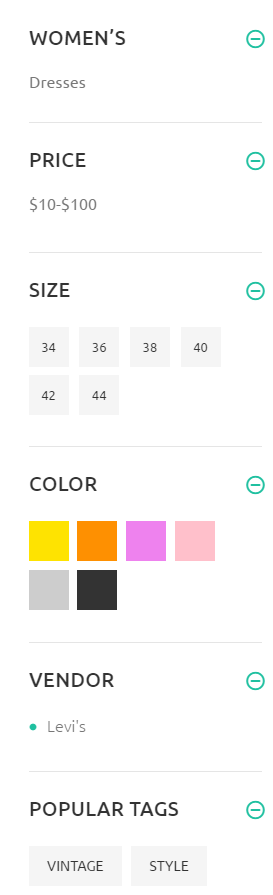
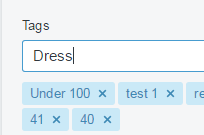
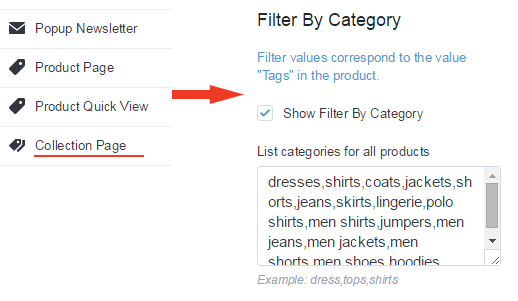
Add Category Filter Product
Filter category work with tags. You need write product category in product tags field.
It work for all products in the collection
Add Color Filter Tags
Filter color work with tags. You need write product colors in product tags field.
It work for all products in the collection
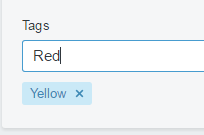
After that you go to the theme editor. In the field "List Colors" you write all color in collections
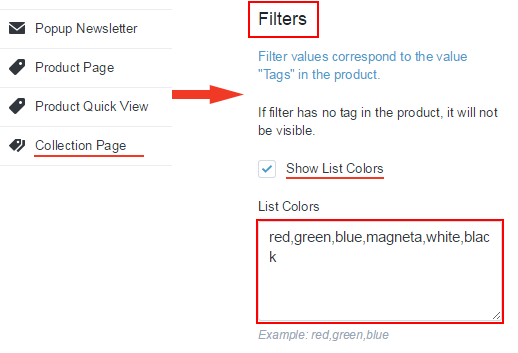
Used colors:
More colors you can add in css-liquid.css.liquid:
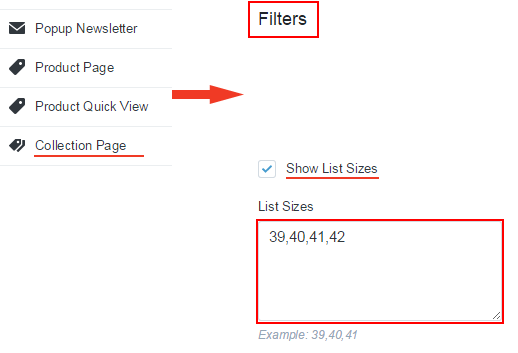
Add Size Filter Tags
Filter size work with tags. You need write product sizes in product tags field.
It work for all products in the collection
After that you go to the theme editor. In the field "List Sizes" you write all size in collections
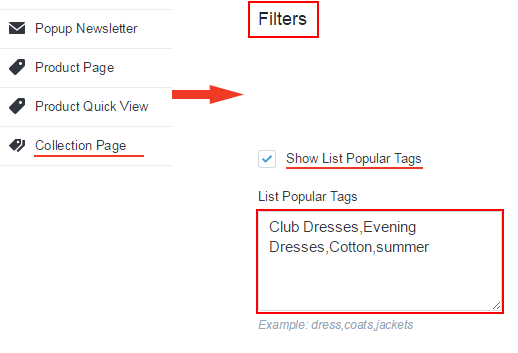
Add Popular Tags
You need write "popular word" in product tags field.
It work for all products in the collection

After that you go to the theme editor. In the field "List Popular Tags" you write all "popular words" in collections
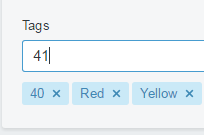
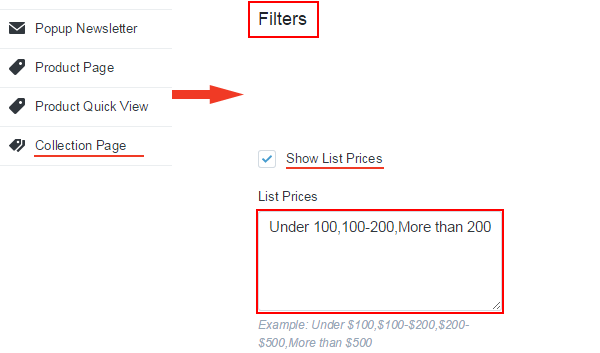
Add Price Filter Tags
Filter price work with tags. You need write product price category in product tags field
it work for all products in the collection
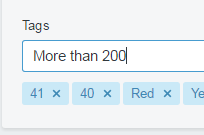
After that you go to the theme editor. In the field "List Sizes" you write all price in collections
Create Collection
Go to the Products / Collections.
Create and select your collection.
Create Collection Banner
In the page "collections" you may show collections banner and link this to select products
Create new page. Edit code from folder Examples/Listing (change link of image) and copy. In created page select HTML editor
Paste HTML code and save page
Customize Theme -> List The Collections select created page
Create Collection Description
1. In selected collection select HTML editor
2. Edit (change link of image) and paste code from folder Examples/Collection.
Create Blog
Translate Blog Tags
You can translate tag in NON-LATIN characters. Example: englishTag__Russian(Arabic, China, or else). Separate item from translate with two underline symbols
Write translated tags into field "Blog Tags With Translate"(Customize Theme -> Blog), separate tags with comma
Example: englishTag__Russian, englishTag__Russian, englishTag__Russian

Language
Many headers, messages and content edit in Language editor
Online Store / Themes. Than you select "Edit language"
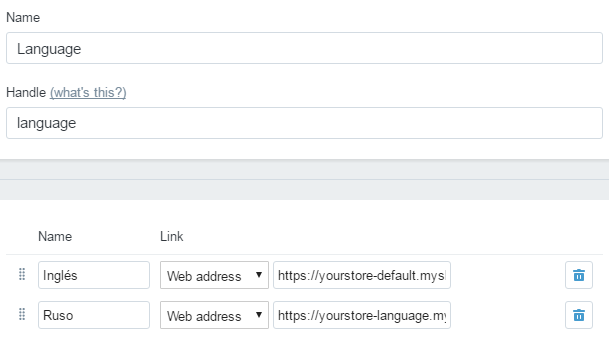
Create language switcher in shop
Warning: one language = one store. Shopify does not support multilangular online!!!
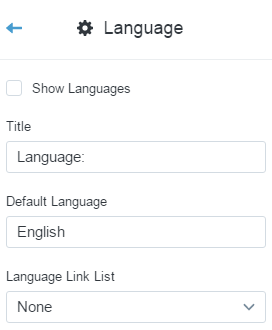
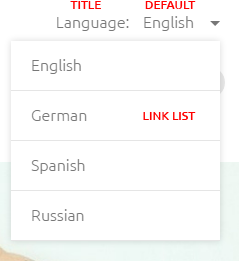
Create linklist in Navigation and select it in field "Language Link List":
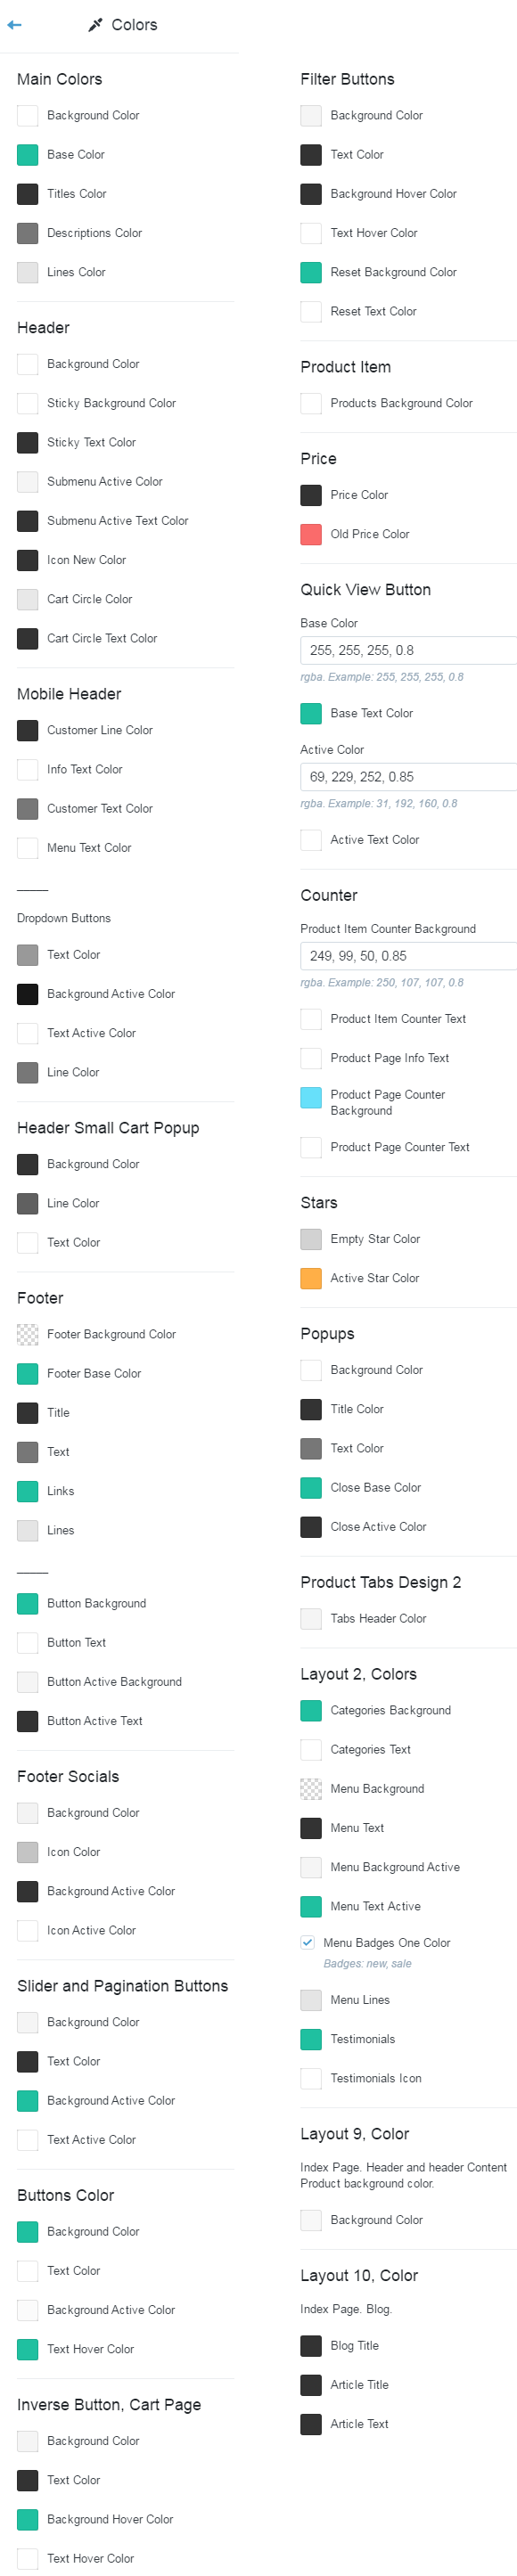
Colors
Presets
The selected "Preset" clear all changes in customizing shop
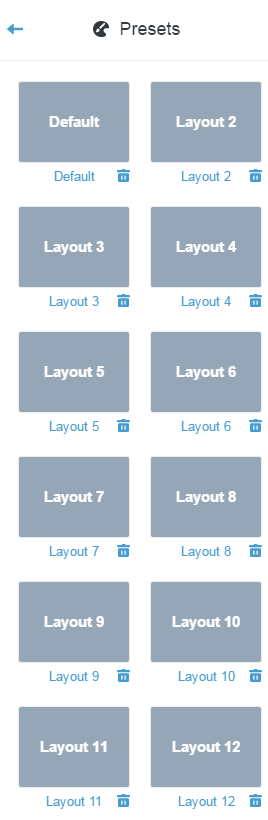
To change the default presets you need tune your theme and save your preset
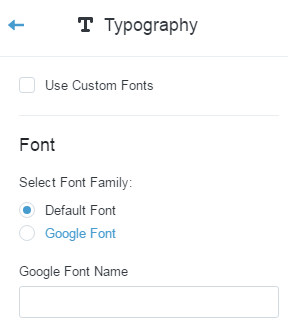
Typography
Setting the font by choice or default
Logo Settings
Can select retina image or non scale image
Header
Select Header Design: Theme has 7 header design, choice you design.
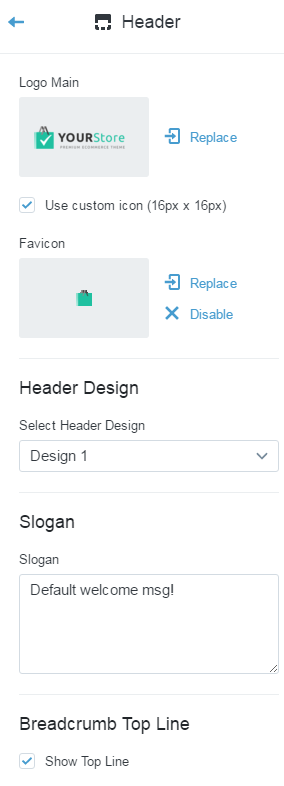
Breadcrumb Top Line: show/hide breadcrumb line

Footer
Footer Design: Theme has 6 footer design, choice you design.
Main Blocks for all designs.
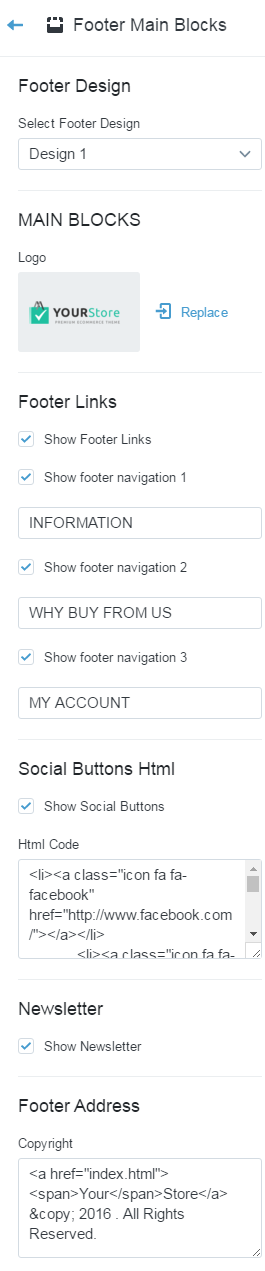
Social Buttons Html:
Footer Address:
Footer Html Code Examples
Footer Design 1 -> Html Code:
Footer Design 2 -> Html Code:
Footer Design 3 -> Html Code:
Footer Design 4 -> Html Code 1:
Footer Design 4 -> Html Code 2:
Footer Design 5 -> Html Code:
Footer Design 6 -> Html Code:
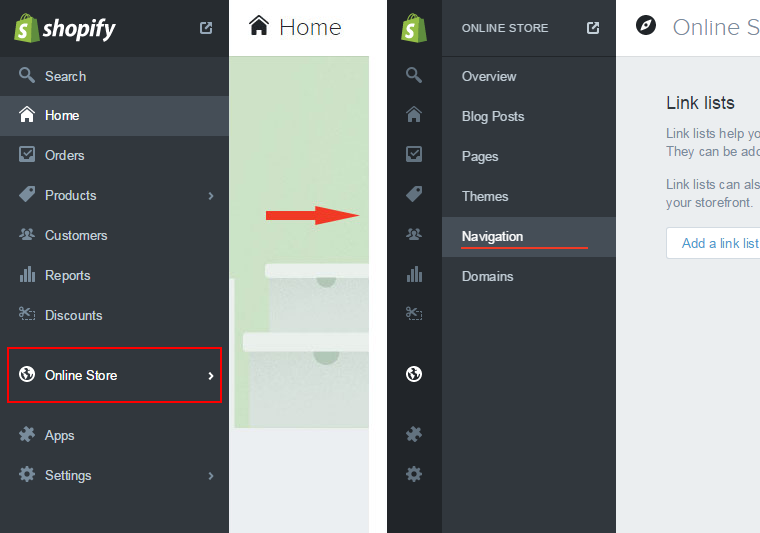
Navigation
Associate icons NEW and SALE with menu items by menu item NAME
Associate "megamenu type1" with page handle and menu item
Create megamenu type2 and Associate megamenu with menu item
Layout
Theme has 9 designs home page. Select Your design and customize him
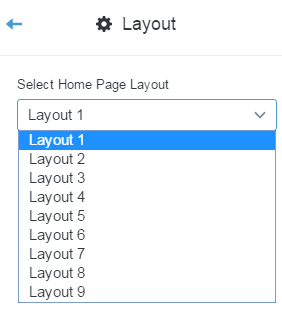
Customize theme ->
- Home Page Layout 1
- Home Page Layout 2
- Home Page Layout 3
- Home Page Layout 4
- Home Page Layout 5
- Home Page Layout 6
- Home Page Layout 7
- Home Page Layout 8
- Home Page Layout 9
Else you can create custom home page in shop. Create new page and select page template page.home-page_layout-X and customize selected home page.
Examples html code you can find in folder Examples/Layouts/..
You Can Enable Rtl For All Layout


Product Page
Product Page has 2 designs
Default design can be:
Custom Html, visible only in screen size > 1770px. This is block work only when screen width > 1770px
Html examples in the folder Examples/Product Page

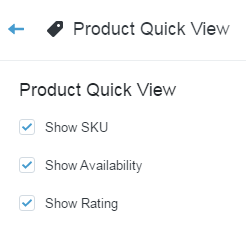
Product Quick View
Blog
Blog has 3 designs (Blog -> Grid)
You can On / Off Sidebar in Article page: Sidebar -> Show Sidebar In Article Page
Sidebar Custom Html Blocks -> Content 1:
Sidebar Custom Html Blocks -> Content 2:


Collection Page Color
You can associate color with image. Write color and select image. Color set in product option and in field tags
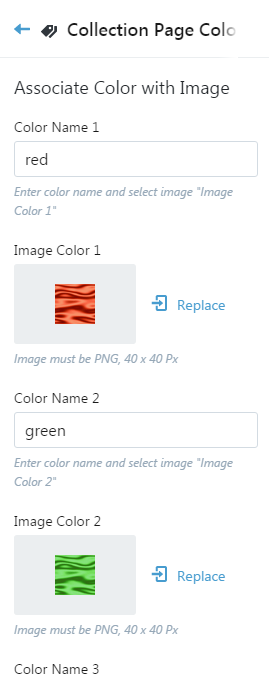
Max: 10
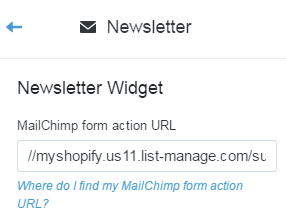
Newsletter
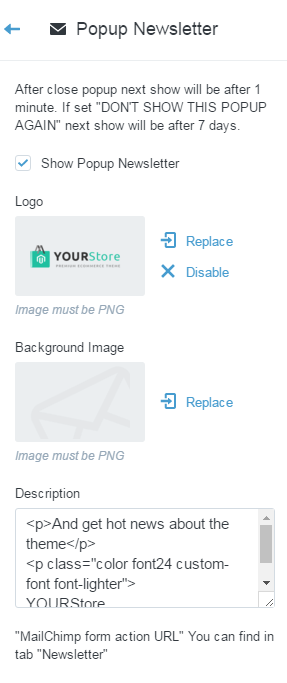
Popup Newsletter
After close popup, next show will be after 1 minute
If set "DON'T SHOW THIS POPUP AGAIN" and close popup next show will be after 1 day
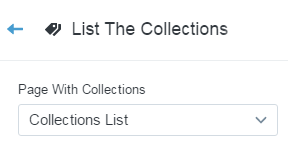
List The Collections
Create new page. Edit, cope and paste code from the folder Examples/Listing (change link of image) in created page.
Select created page
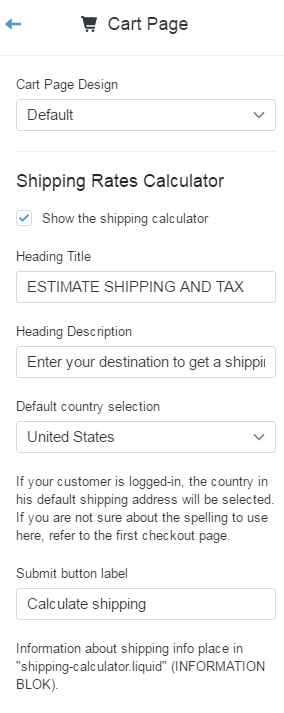
Cart Page
Cart has 2 designs: default and with right column
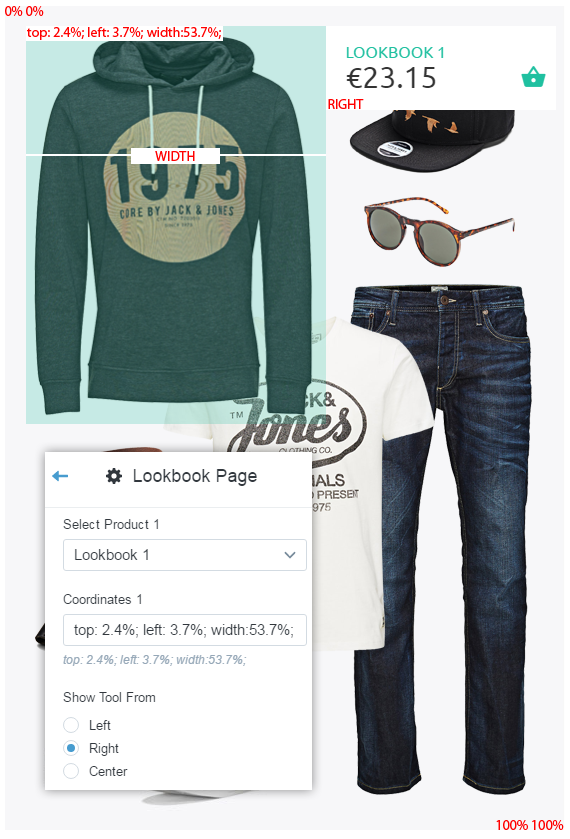
Lookbook Page
Block 1. Select and place products with coordinates and width:
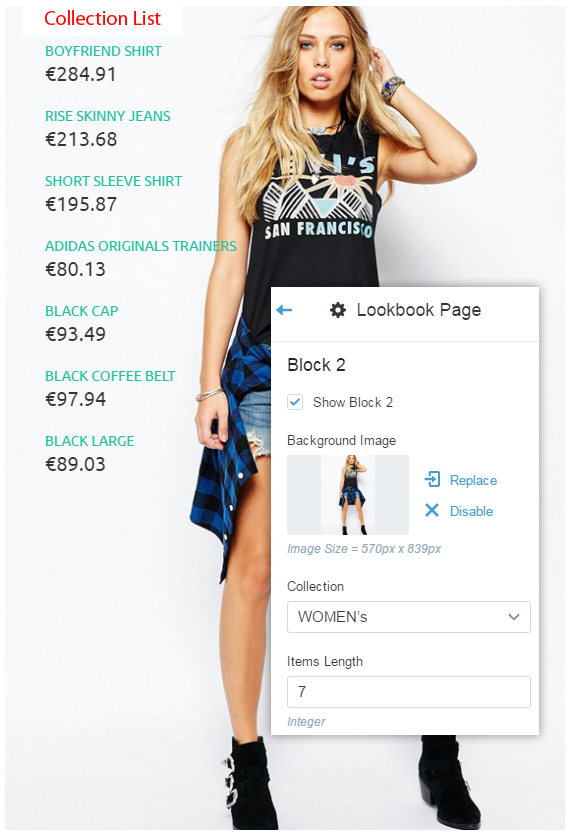
Block 2. Select collection:
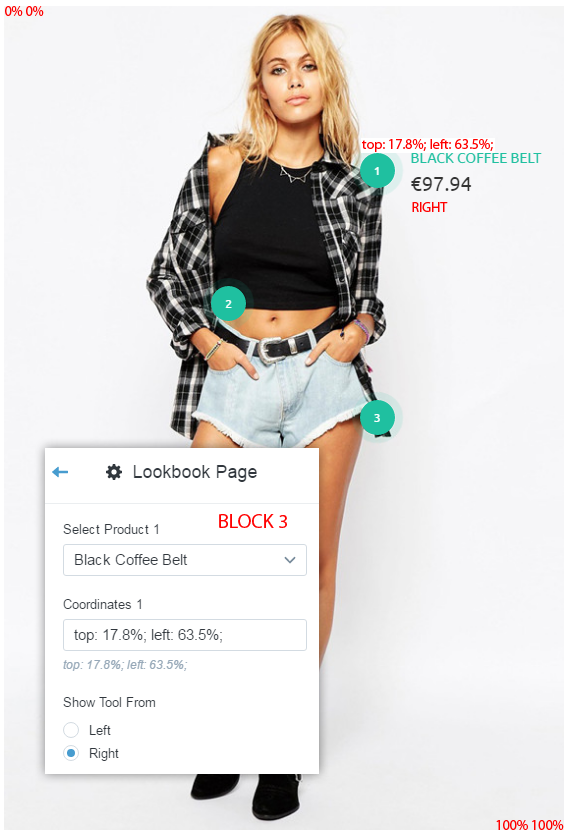
Block 3. Select and place points with coordinates:
Money options
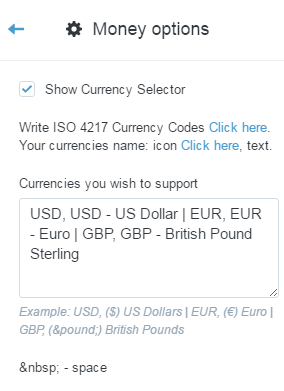
In the field "Currencies you wish to support" write:
Write ISO 4217 Currency Codes. Your currencies name: icon, text.
Example how to write: USD, USD - US Dollar | EUR, EUR - Euro | GBP, GBP - British Pound Sterling
404
Password
Newsletter adress set in Customize Theme -> Newsletter

Checkout
Credits
- Google Maps
- Flexslider
- Slick Carousel
- jQuery Library
- Bootstrap v3.2.0
Need Help?
If you have any questions, please do not hesitate to use our support forum - http://etheme.tonytemplates.com/forum/
Check FAQ for details - http://etheme.tonytemplates.com/forum/viewtopic.php?f=5&t=16
We are happy to help!